Blog
Hotel Mock-Up Rooms: How to Test, Approve, and Reduce Final Project Cost
Table of Contents

Every successful hotel project begins long before the first guest checks in.
It starts inside a single mock-up room — the room that reveals everything the drawings didn’t.
A well-tested hotel mock-up room can save thousands in rework, prevent delays, and protect your project’s budget. In this guide, you’ll learn exactly how to test, approve, and optimize your mock-up so your final rollout is smooth, consistent, and cost-efficient.
Why Mock-Up Rooms Matter More Than Most Developers Think
Hotel Mock-up rooms look like an extra step, but they’re one of the few moments in a hotel project where you get to see the truth before it becomes expensive. Drawings, renders, and sample boards can only show so much. A mock-up forces every detail to meet reality — and reality is where most problems show up.
Mock-ups reveal issues that are almost impossible to catch on paper. Joinery might clash with MEP routes. A fire sprinkler could sit directly in front of a wardrobe door. An accessible bathroom might look compliant on a plan, but once you walk into it, you realise the turning radius is too tight. These are the kinds of mistakes that cost weeks of rework if you only discover them after production starts.
Most 4–5 star hotels now require mock-ups before mass production because brand standards depend on consistency. A luxury room has dozens of touchpoints — lighting levels, hardware feel, veneer matching, noise control, and even the way a drawer closes. Brands don’t want surprises when 200 rooms are already being installed. One approved mock-up acts as the master reference for every room that follows.
The most common failures only appear when the mock-up is physically built. A door that looks fine on drawings suddenly hits the bedside table because the handle sticks out further than expected. A minibar overheats because the ventilation gap is too small. A bedlight switch sits just out of reach when lying down. These aren’t designer mistakes — they’re normal gaps between theory and reality.
Fixing issues in a mock-up saves a huge amount of money. Adjusting a wardrobe hinge or changing a countertop material is cheap when there’s only one room involved. Doing the same change in 200 rooms means rework labour, delay claims, and angry procurement teams. A mock-up is insurance: you solve the problem once, not hundreds of times.
Mock-ups also affect the guest experience more than people think. You get to test comfort, lighting, ergonomics, and noise levels the way a guest would. Is the mattress height too high? Does the reading light blind your partner? Is the AC too loud when the room is quiet? These small details decide whether a guest sleeps well — and whether the hotel earns repeat business.
A good mock-up isn’t just a prototype. It’s a quality checkpoint, a cost-control tool, and a preview of the guest experience before the hotel is ever opened.
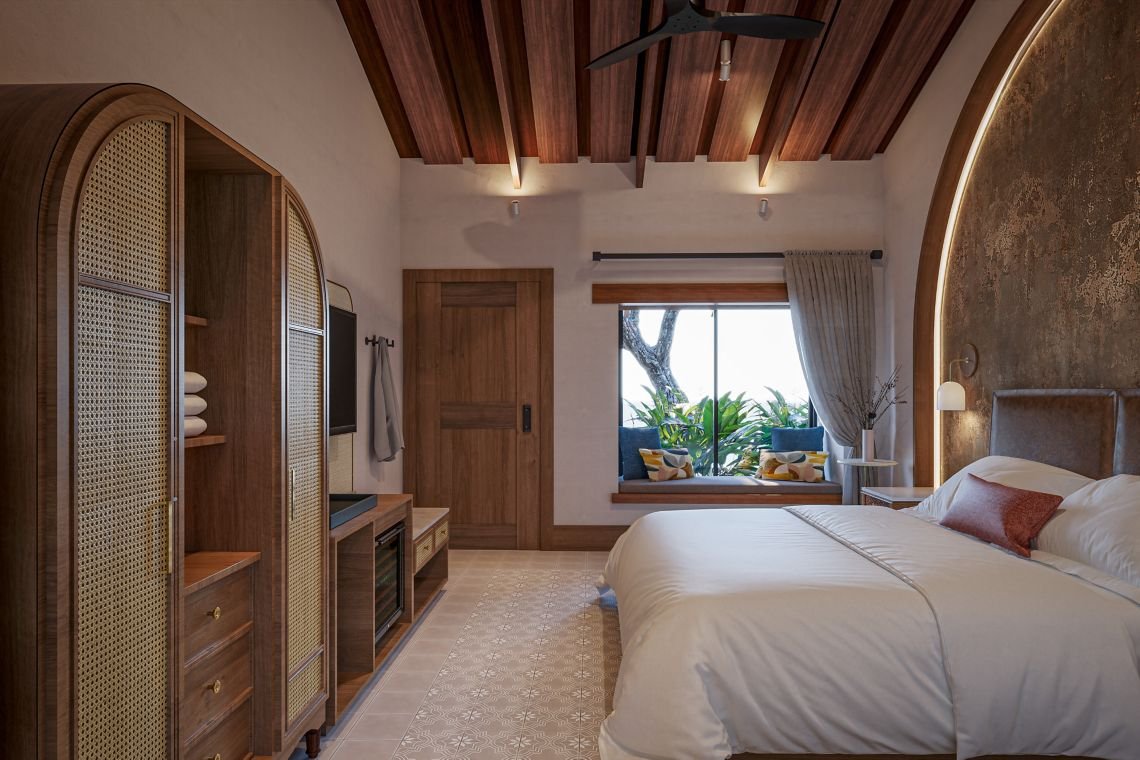
What a Complete Hotel Mock-Up Room Should Include
A complete hotel mock-up room is basically a full “dress rehearsal” of the real guest room. It should feel close to the final product so you can see how everything works together, not just how it looks on paper. When you build it properly, you’ll catch problems early and avoid fixing the same mistake across hundreds of rooms.
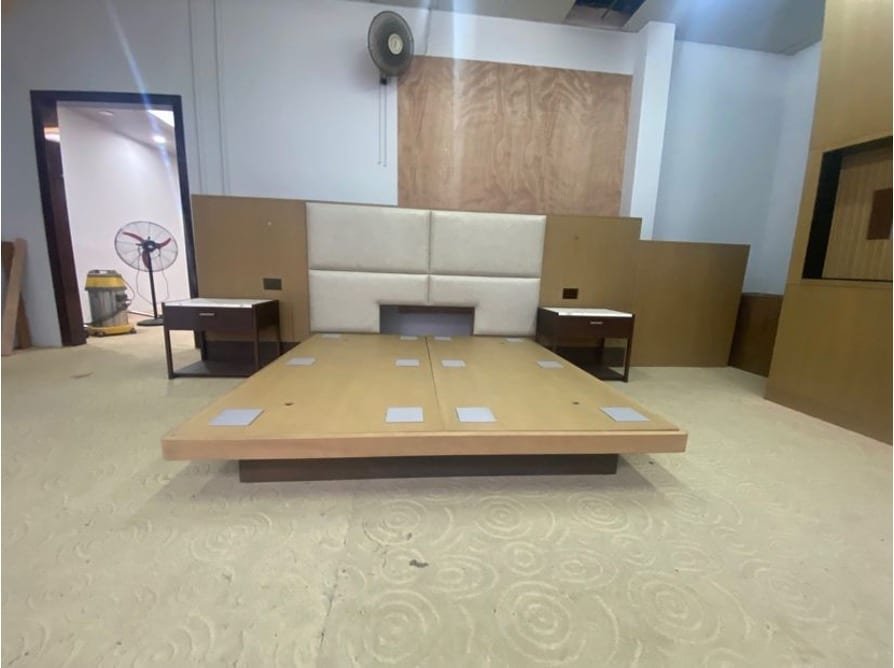
Start with the loose furniture. This usually means the bed, bedside tables, a sofa, a dining chair, and an armchair. These pieces help you judge comfort, proportions, and how guests will actually move around the space. You also get to see if the designer’s dimensions make sense once they’re real.
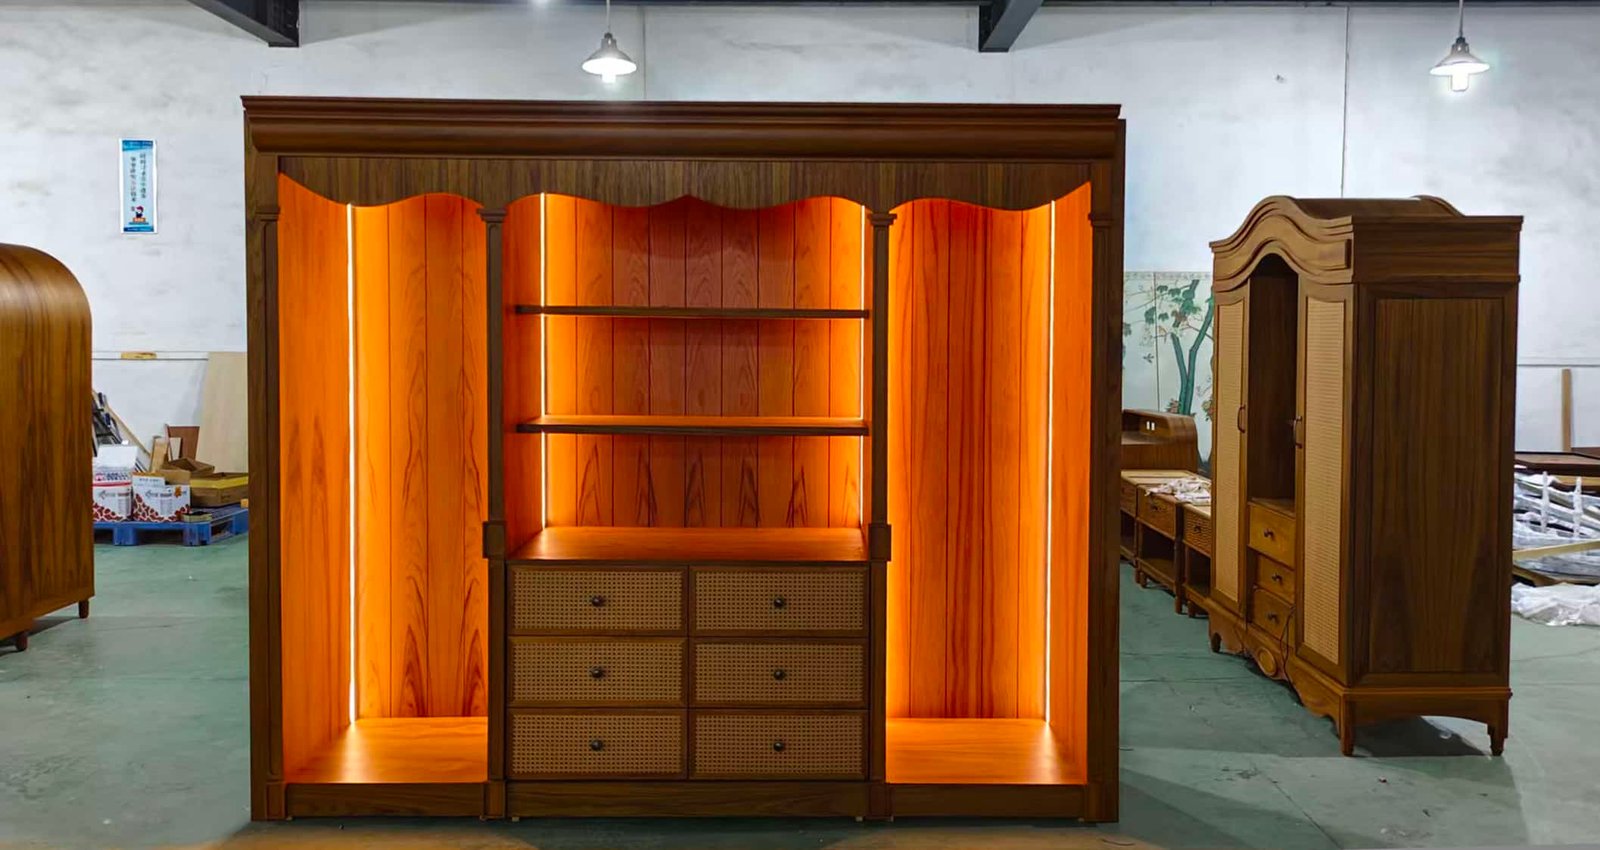
Then there are the casegoods — the fixed or semi-fixed items that drive most of the room’s functionality. The wardrobe, minibar, TV cabinet, luggage bench, and vanity all need to be tested for storage, wiring, ventilation, and daily use. Doors should open smoothly, drawers shouldn’t collide, and the minibar shouldn’t overheat inside a tight cabinet.
MEP integration is where many mock-ups fail, so it’s worth paying attention. All the lighting, switches, sockets, USB ports, LED strips, and drivers should be installed exactly as they would be in a real room. This is how you confirm sightline lighting, check for glare, and make sure power outlets aren’t hidden behind furniture.
The finishes are what make the room feel complete. Veneer, laminate, paint, upholstery, stone, glass, and metal should be applied in their actual colors and textures. Even small differences — a shinier veneer or a slightly warmer fabric — can change the entire mood of the room, so it’s better to review them early.
You can also include accessories such as lighting fixtures, hardware, and soft furnishings. These aren’t always required in the very first mock-up, but they’re useful when you want a true preview of the final guest experience. They help everyone — owners, designers, and operators — align on the final look before mass production begins.
The Mock-Up Room Testing Checklist (Step-by-Step)
Structure & Furniture Quality
Start by checking whether the furniture feels stable and safe. Give each piece a gentle shake to see if it wobbles, and apply basic load tests to shelves, benches, and seats. Hinges and joints should feel tight and solid, not loose or noisy.
For casegoods like wardrobes and minibars, open and close every drawer and door. Look at the alignment, whether the gap lines are even, and if the soft-close mechanism actually works smoothly. Small tolerance issues now can turn into huge headaches when you have 200 rooms.
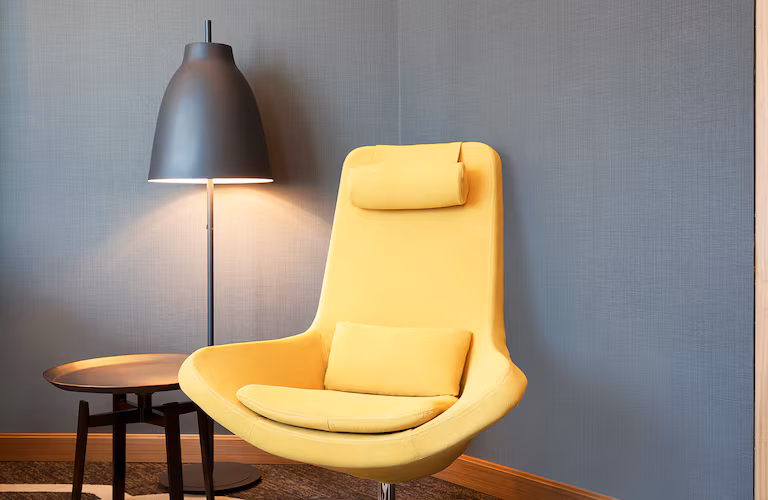
Then look at the upholstery. Sit on every chair and sofa to feel the foam density and comfort level. Inspect the stitching to make sure it’s straight and consistent. If fire rating is required for your project, confirm the correct foam and fabric certifications are used in the mock-up.
MEP & Functionality
Lighting is one of the most common failures in mock-ups. Use a simple lux meter to check brightness levels, and confirm the color temperature matches the spec—most hotels aim for around 3000K for warm, comfortable lighting. Make sure reading lights and bedside lamps aren’t blinding or mis-angled.
Check the location of electrical outlets. They should be reachable from the bed, accessible for the suitcase area, and placed logically for laptop use. Poor outlet placement is one of the top guest complaints in hotel reviews.
Test ventilation by checking if the minibar overheats or if heat gets trapped inside the cabinet. For wardrobes, make sure the interior doesn’t trap humidity—especially important in tropical climates.
Ergonomics & User Experience
Walk the room the same way a guest would. Check if the walkway is wide enough so two people can move around without bumping into corners. The flow from the entrance to the bed to the bathroom should feel natural, not cramped.
Make sure switches, rails, and minibars are easy to reach without bending awkwardly. If you have to stretch or crouch too much, guests will notice too.
In older hotels, noise and vibration problems show up only when you test in real conditions. Listen for door rattling, AC vibration, or sound transfer from the corridor. These issues are much easier to fix now than after handover.
Aesthetics & Finishes
Look closely at the finishes under natural and artificial light. Veneer direction should be consistent from panel to panel, and the stain color should match the approved sample. If color variation is noticeable, check ΔE values to confirm they are within acceptable limits.
Run your hand over lacquered or painted surfaces to feel for bumps or rough edges. Check that seams, joints, and edges are straight and aligned.
Don’t forget mirrors. Stand back and look for distortion, warping, or visible green tint. Turn on the vanity or backlit mirrors—harsh reflection or uneven lighting can ruin the entire look of the room.
The Mock-Up Approval Cycle (Design → Brand → Developer → Factory)
The mock-up approval cycle is basically the “truth test” for a hotel room design. It’s where drawings, specs, and ideas meet the real world. A smooth cycle saves weeks. A messy one can delay an entire refurbishment. That’s why each stage has a clear purpose and a clear owner.
Accurate shop drawings are the first step. Good drawings remove guesswork by showing every millimeter of the furniture, every joint, and every finish. When the drawings are right, the factory builds exactly what the designer imagined. When they’re wrong, you end up reworking the mock-up—sometimes twice—which is painful and expensive.
The designer review usually comes next. This is where layout, finishes, ergonomics, and lighting are checked in detail. Designers look at things like bed-to-wall clearance, veneer direction, the comfort of seating, and how the lighting feels at night. If something feels off—even slightly—they’ll flag it early before it becomes a bigger problem.
Then comes the brand review, which is often the strictest step. Marriott, Hilton, Hyatt, and IHG all have their own approval requirements. Some care deeply about lighting levels, others about furniture durability or accessibility. Brands will also check details you might not expect, like socket placement relative to the bed or the minimum clothes-hanging length in the wardrobe.
Engineering review happens in parallel or right after. This covers fire safety, accessibility rules, and any MEP (Mechanical, Electrical, Plumbing) changes. If a minibar overheats, or a light fitting doesn’t meet fire ratings, it has to be fixed now—not after mass production. This step makes sure the room is safe and compliant, not just good-looking.
Final sign-off ties everything together. You prepare documentation, update drawings, and list any deviations that were approved during the mock-up stage. Once everyone signs, the factory can move into mass production confidently. And that final green light is what keeps the project on schedule.

How Mock-Ups Reduce Final Project Cost (If Done Correctly)
A good mock-up lets you spot expensive materials before they’re actually ordered in bulk. When you see everything installed in one real room, it becomes easier to notice where a finish, a veneer, or a stone slab is driving up the budget without adding much value. This is where value engineering (VE) happens: you can swap materials, adjust structures, or simplify details before anything goes into mass production.
Mock-ups also help you catch MEP problems while the room is still open and easy to fix. Things like misplaced conduits, wrong switch heights, poor minibar ventilation, or LED drivers with the wrong voltage are surprisingly common. Fixing these issues after walls are closed can delay the entire project and cost thousands in rework — fixing them at mock-up stage usually takes minutes.
Another big cost saver is preventing bulk production mistakes. A mock-up is often the first time everyone sees the real color, size, and proportions of the furniture in the actual room. If the veneer color is slightly off, or if a wardrobe door swings into a wall, it’s far better to discover it in the prototype than after 200 rooms have been manufactured and shipped.
Mock-ups also make your shipping plan more accurate. Once the joinery and furniture are approved, you can calculate the real CBM, container count, and packing method. This helps you avoid paying for half-empty containers or dealing with surprise freight increases later.
And finally, mock-ups reveal conflicts between the site builder’s work and the factory’s joinery dimensions. Sometimes walls aren’t straight, floor levels vary, or service risers take more space than shown on drawings. Catching these issues early means you can adjust dimensions before mass production starts, instead of wasting time and money on rework during installation.
Common Problems Discovered in Mock-Up Rooms (And Solutions)
You’d be surprised how many issues only show up once everything is physically in the room. A mock-up is where all the little mistakes become visible, and that’s why it’s so valuable. Here are the most common problems teams run into — and the practical fixes that actually work.
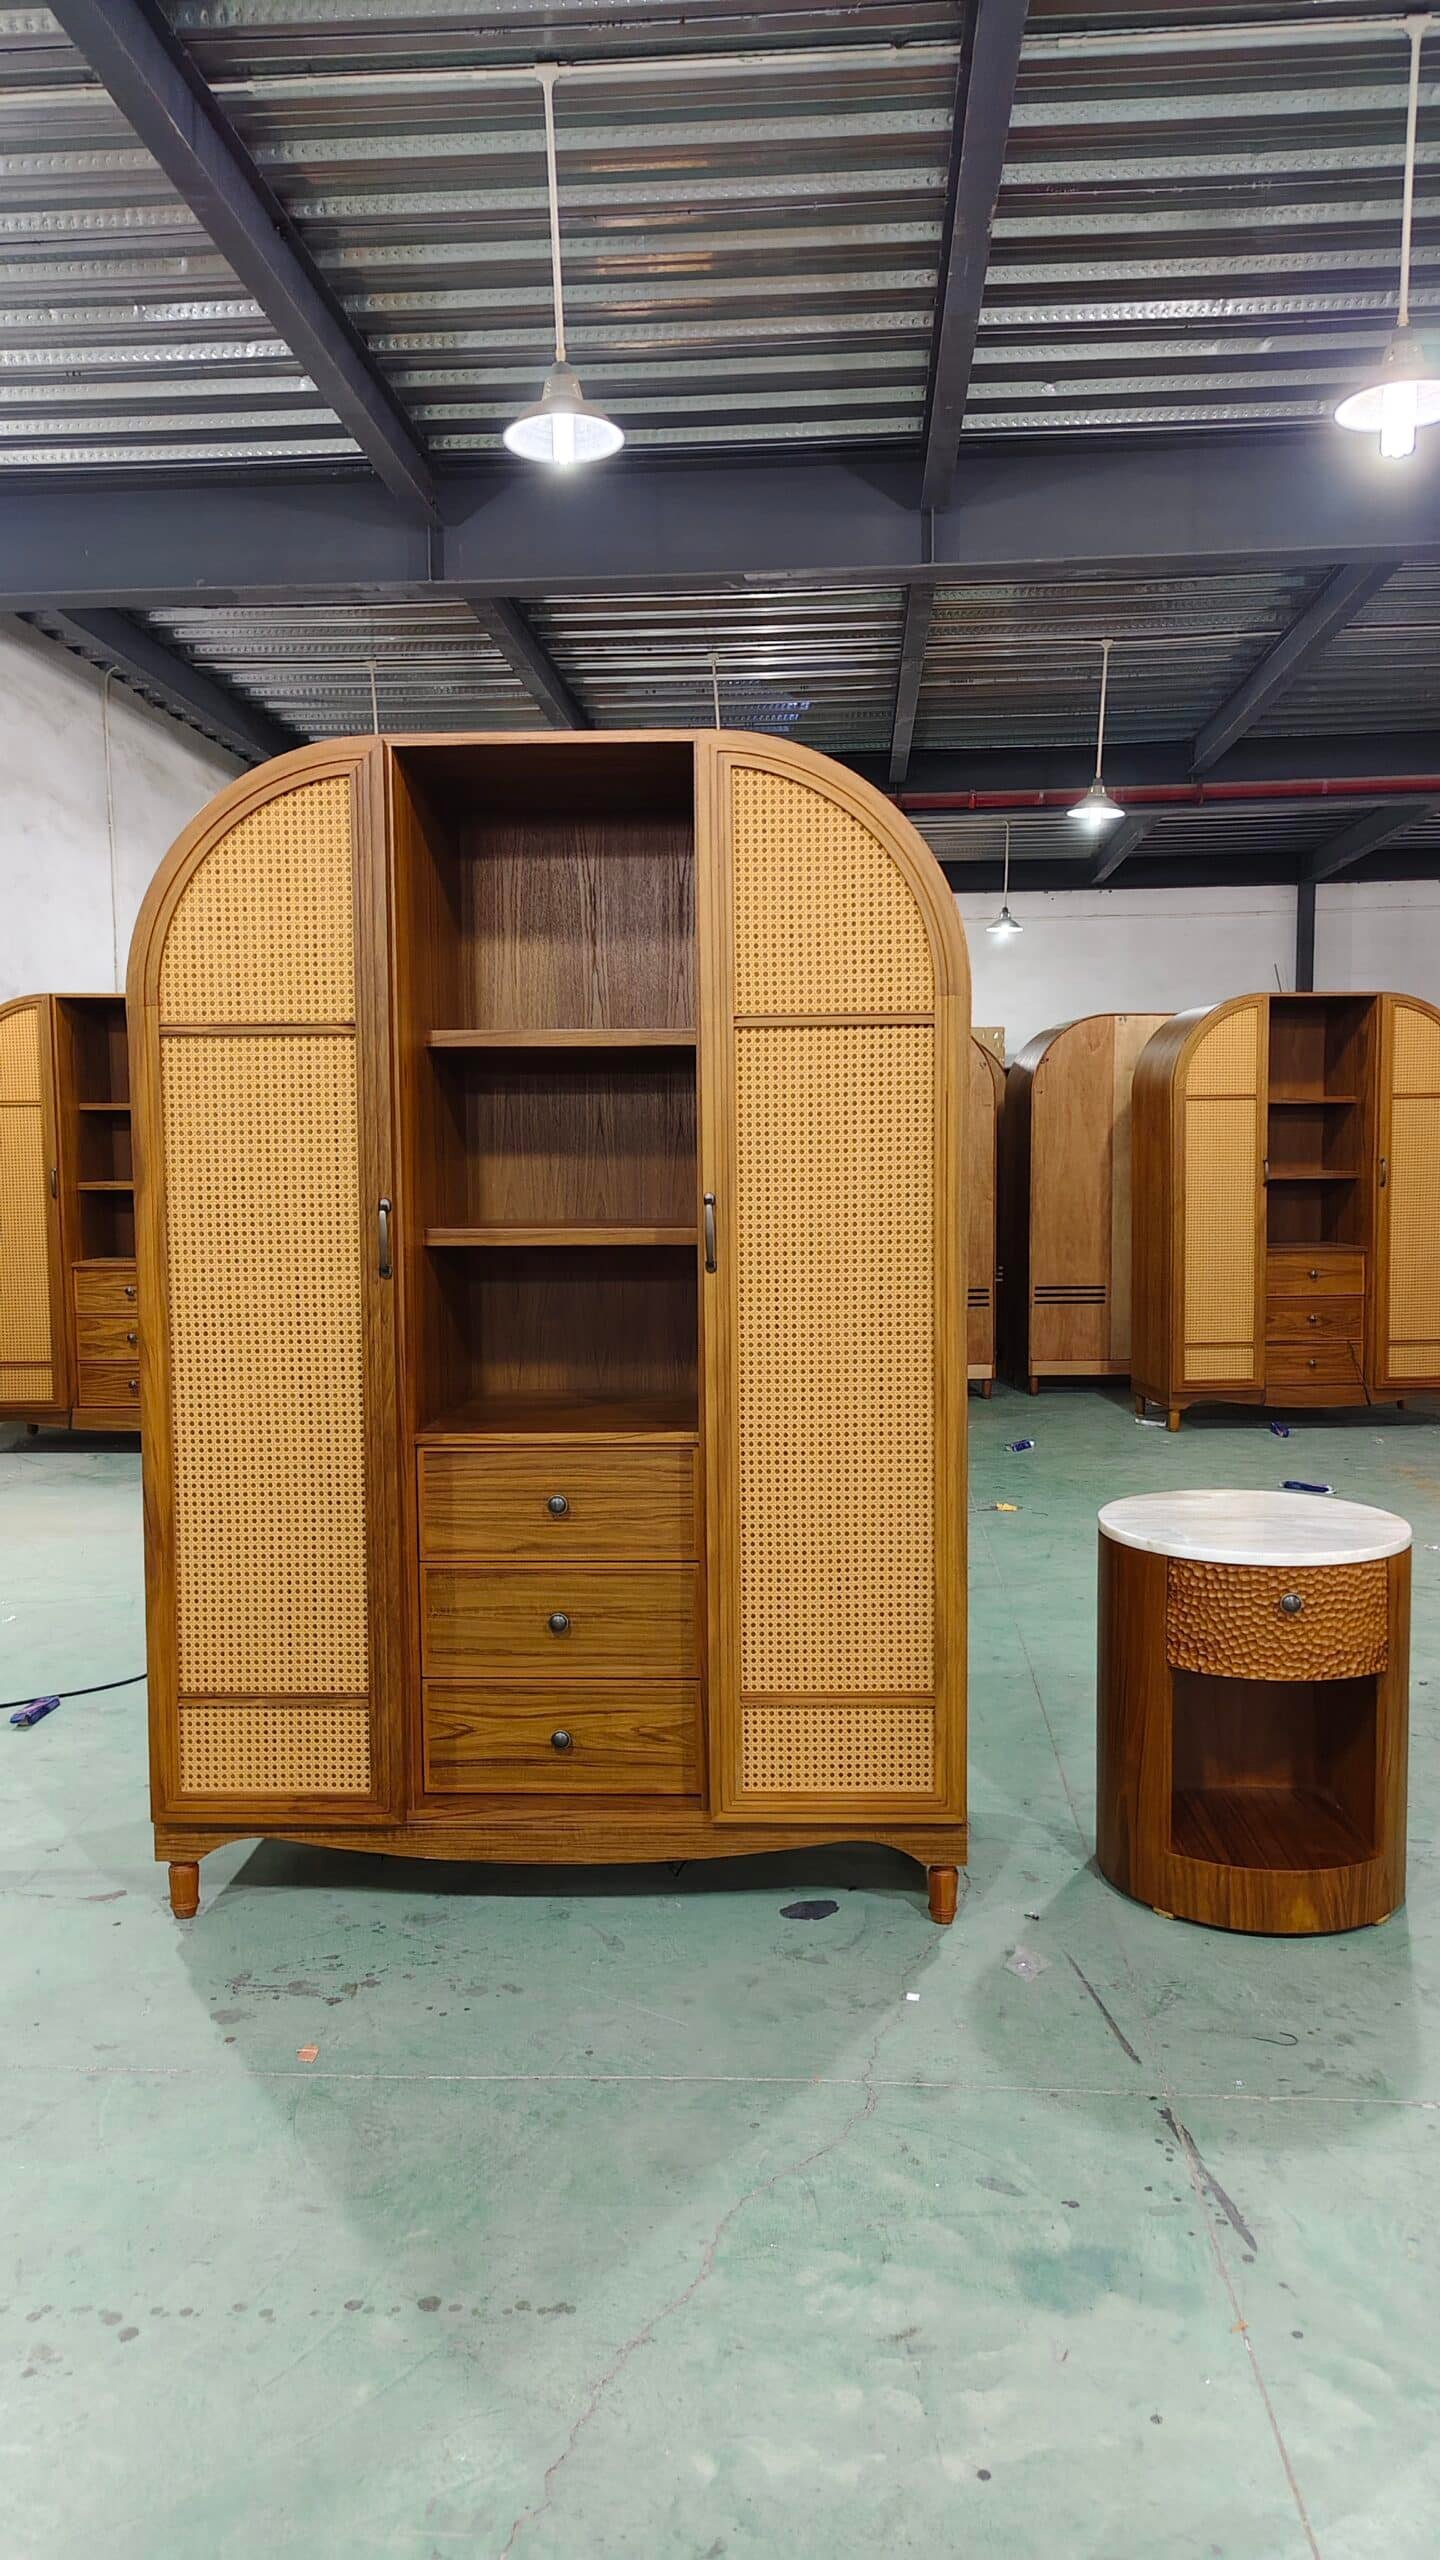
Wardrobe depth too small for hangers
This is one of the easiest mistakes to miss on paper. Standard hangers need at least 550–600 mm of internal depth, otherwise guests can’t close the doors. The fix is simple: increase depth early, or switch to a side-hung rail if the room layout can’t support deeper joinery.
LED strip hotspots due to the wrong diffuser
Hotspots happen when the LED tape is too close to the diffuser or when the diffuser is low-grade. In a mock-up, you’ll catch this right away. A deeper aluminum profile or an opal diffuser usually solves the issue, and upgrading to higher-density LED tape gives a smoother, more premium look.
Drawer rubbing due to humidity expansion
Wood and plywood expand in humid climates, so drawers that look fine in the factory can rub or stick onsite. The solution is building in tolerance — typically 1–2 mm extra clearance — and using branded runners that stay stable across different climates. A good mock-up helps you avoid 200 sticky drawers later.
Upholstery wrinkles from low-density foam
Wrinkling usually means the foam is too soft or the seat construction isn’t supportive enough. In the mock-up, you can test different foam densities and layering to find the right balance between comfort and appearance. Once you lock in the version that holds its shape, mass production becomes predictable.
Minibar ventilation causing heat buildup
A minibar tucked into tight joinery can’t push out heat, and that shortens its lifespan. In the mock-up you’ll notice the temperature spike right away. Adding ventilation slots, increasing the rear gap, or installing a small ventilation grille usually solves the problem without changing the design.
Socket locations blocked by furniture
This is a classic layout oversight. Sockets end up behind the headboard, hidden by the bedside table, or out of reach of suitcases. In the mock-up, you can test real-life use and move the outlets to where guests actually need them — bedside, luggage bench, desk height, and vanity area.
How to Finalize a Mock-Up & Prepare for Mass Production
Once a mock-up is approved, the next step is locking everything down so the factory can repeat the same quality hundreds of times. This stage is all about clarity. The more precise your documentation, the fewer surprises you’ll face later.
Start by documenting every single change. Even a 2 mm adjustment matters. Update the shop drawings, the dimensions, and the full material list so the mock-up version becomes the “one source of truth” for the production team.
It also helps to create a “redline” deviation sheet. This is a simple document that highlights all modifications made during the mock-up review—things like moving a hinge, changing a finish, or adjusting an LED strip depth. Factories rely on this sheet during production so nothing gets lost in translation.
Before mass production starts, you’ll want to approve the final samples. That means signing off on the veneer, fabric, paint, metal finishes, and stone pieces. These samples are what the QC team will compare every batch against later, so they have to be exact.
Next, set your QC checkpoints. A common structure is:
• 30% QC → check raw materials, structures, and internal framing
• 60% QC → check assembly, alignment, soft-close hardware, and finish prep
• 90% QC → final finishing, color matching, hardware installation
• Pre-shipment → full inspection + packaging checks
These checkpoints prevent small mistakes from multiplying into major rework.
Finally, confirm the installation manual and hardware list. This ensures the on-site installation team knows exactly how every component fits, what tools are needed, and what sequence to follow. A clear manual reduces installation delays and protects the quality of the finished room.
Conclusion
A hotel mock-up room is not just a test — it’s your insurance policy.
It’s the stage where design becomes reality and where small changes prevent big disasters. When you invest time in proper testing, documentation, and approval, your mass production becomes predictable, your budget remains in control, and your guest rooms feel intentional and well-built.
The best mock-ups don’t just look good.
They protect your project from risk, rework, and unnecessary cost.
FAQs
1. What is a hotel mock-up room?
A hotel mock-up room is a full-size prototype of a guestroom built before mass production. It helps developers test furniture, lighting, MEP, finishes, ergonomics, and layout to ensure everything works before hundreds of rooms are manufactured.
2. Why do hotels need a mock-up room?
Mock-up rooms catch design and functional issues that drawings can’t show. This prevents costly rework, improves guest experience, and ensures brand standards are met.
3. What items must be included in a complete mock-up room?
A complete mock-up room includes loose furniture, casegoods, lighting, MEP elements, sockets, USB ports, ventilation, upholstery, finishes, and accessories.
4. How do mock-up rooms reduce final project cost?
By identifying errors early — such as wrong dimensions, poor ventilation, LED driver issues, or finish mismatches — mock-ups prevent mass-production mistakes and reinstallation costs.
5. Who reviews and approves a hotel mock-up room?
The approval cycle typically involves the designer, hotel brand (Marriott, Hilton, Hyatt, IHG, etc.), developer or owner, and the factory producing the FF&E.
6. How long does it take to build a mock-up room?
Most mock-up rooms take 3–6 weeks depending on design complexity, material sourcing, and coordination with the FF&E manufacturer.
7. What common issues are discovered during mock-up testing?
Typical issues include wardrobe depth errors, LED hotspots, poor ventilation in minibars, drawer misalignment, socket placement problems, and upholstery wrinkles.
8. How do you test the lighting in a mock-up room?
Use a lux meter to measure brightness, confirm color temperature (usually 3000K), check glare angles, and verify driver compatibility.
9. What documents should be finalized after mock-up approval?
Updated shop drawings, redline deviation sheets, revised material lists, QC checkpoints, and installation manuals must be completed.
10. What happens after the mock-up room is approved?
The factory begins mass production following the approved specifications. This ensures consistency across all rooms and prevents variation in materials or dimensions.

Our Portfolios
Trust and Worth
Our Clients
Get In Touch for Your Cost-Effective Customized FF&E & Joinery Needs
We’d love to hear about your project. Whether you need custom FF&E solutions or joinery services, we’re here to help.